Working With Photo Galleries
Photo Gallery Sample
-

Teaching student working with two children at a computer 
Teaching Student working with two children at computers 
Teaching student working with two children in a classroom 
A classroom setting with a teacher in a turquoise blouse engaging with three students sitting at desks. The students appear attentive and cheerful, with books and materials in front of them. Sunlight streams in through large windows, creating a bright and welcoming atmosphere. 
How To Make A T4 Photo Gallery
After identifying the existing section/page you want the photo gallery displayed on, you'll need to visit its section, go to the Content tab at the top, then use the +Create content button in green towards the top right side.
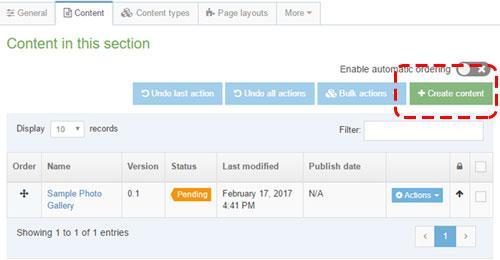
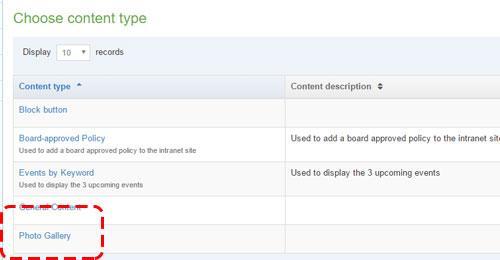
Choose the Photo Gallery Content type by clicking on its name or checking the circle to the right and hitting next:
You will then see the content piece that creates galleries.
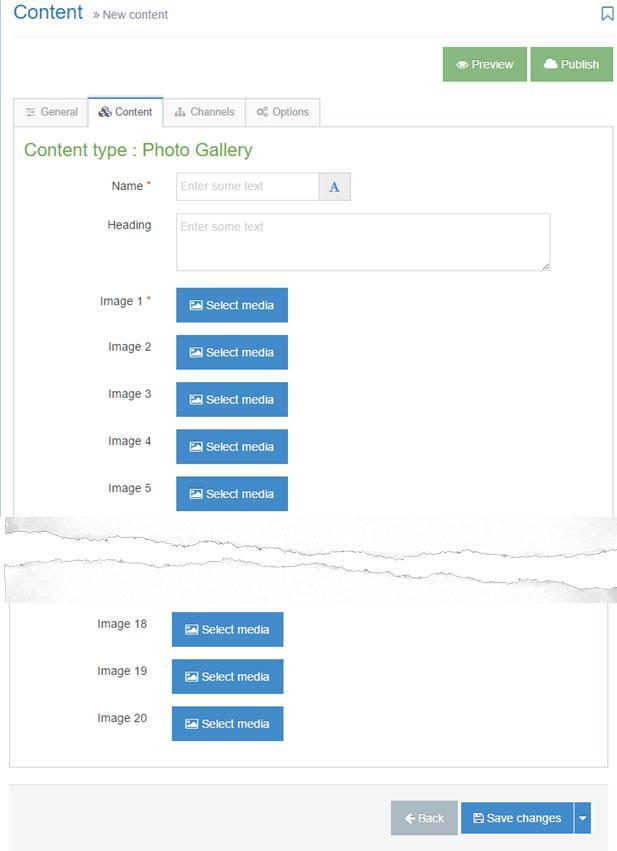
Provide a Name. Next, select/upload your images using the Select Media buttons. You can choose up to 20 images from your gallery. Keep in mind copyright rules for your images, do not use images you did not create or are not given to you by the university.
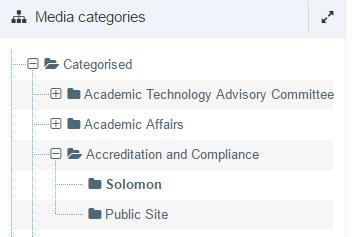
In the Media categories on the far left, use the + signs to expand and drill down to the equivalent "Solomon" folder for your site and select it. When it turns bold, any images and files already in your site will appear on the right side.
New images can be added by going to the  button in the top right corner.
Due to a system bug, be aware that upon adding a new image, you may have to select the image again from the list if it does not show initially.
Select the name of the image in the larger area to the right if it is already uploaded.
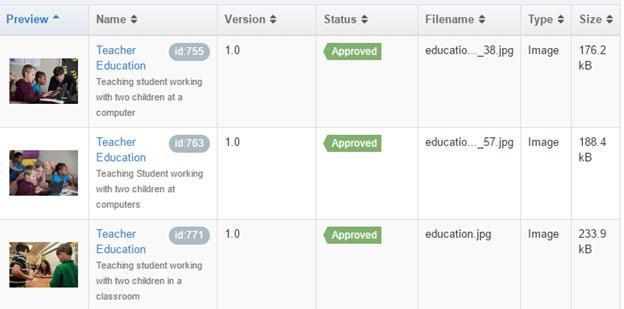
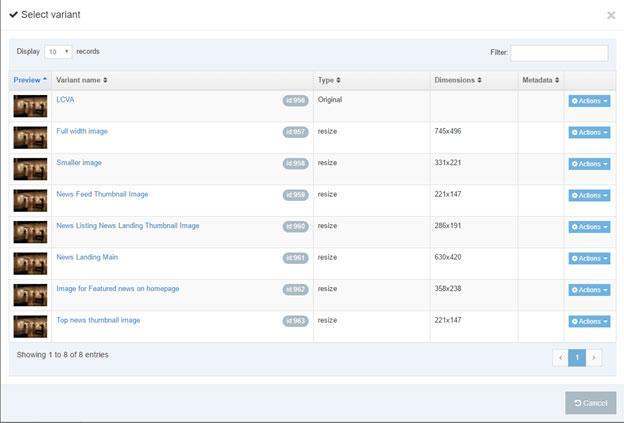
When you select an image, the system shows you "variants" of the original image size that have been created for you to select from. Try to avoid the "Original" option above "full width" as it is the original image uploaded and may be too big for your purposes. Created Dimensions will be visible in the Dimensions column.
Once selected, images will appear like this:
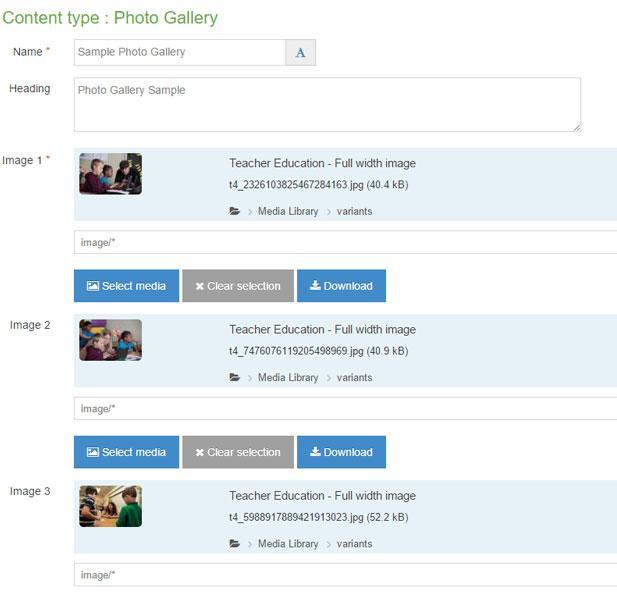
This interface will not allow you to sort the order of the gallery, so you'll need to re-select all images to create a new order.
You can use the Preview button in the top right  corner to see how the gallery will appear.
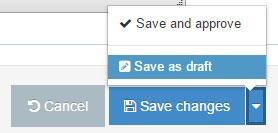
Remember to "Save and approve" from the bottom right corner to post your gallery to Solomon.
Do you need Longwood images? Marketing & Communications maintains images they take here that you can "order" online.
If there are questions, contact us!
